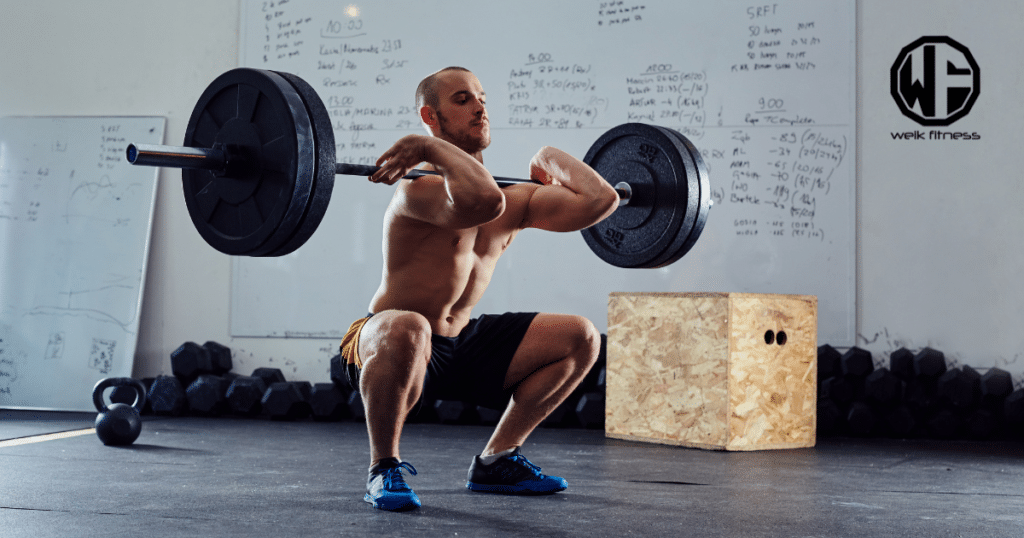
Build This Affordable DIY Squat Rack for Your Dream Home Gym
Are you frustrated with crowded gyms or unable to afford a commercially-made squat rack? I’ve been there too. In fact, it’s the high price tag of gym equipment that led me to discover the joys and cost-effectiveness of creating a DIY squat rack (Fact: You can build your own quality home gym on a budget between $500 to $1000).
In this article, we will guide you through an easy step-by-step process of building your very own DIY squat rack to expand your home gym on a budget, adding value and convenience to your workouts and training sessions.
Related Article: Best Home Gym Equipment When You Have Limited Space
With that being said, prepare yourself for more soreness in your legs, but on a bright note, you’re going to spend less building out your home gym!
Table of contents
Key Takeaways
- Building a DIY squat rack on a budget is an affordable way to expand your home gym and save money compared to purchasing a commercial squat rack.
- The convenience of having a DIY squat rack at home allows for flexible workout times without the need to commute or deal with crowded gyms.
- Customization options when building your own squat rack allow you to design it according to your personal preferences, including size, height, and additional features.
- Ensure safety by properly securing the squat rack, maintaining proper form and technique during workouts, regularly inspecting for wear or damage, and using spotters or safety equipment when necessary.

Disclaimer: While this article shows you how to build your own DIY squat rack for your home gym, there are inherent risks involved with building it yourself. If you choose to follow the DIY squat rack build shown in this article, you are doing so at your own risk. Be sure you check and double-check each step to ensure each step is done correctly and your build is solid and sturdy.
How to Build a DIY Squat Rack on a Budget
To build a DIY squat rack on a budget, start by determining the space and equipment needed, gather the materials and tools required, then follow step-by-step instructions for building the squat rack.
Determine the space and equipment needed
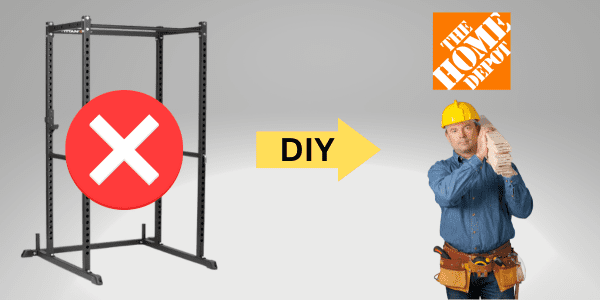
First, let’s tackle the room allocation. Finding an area in your home that can comfortably accommodate a squat rack is crucial. You don’t need a huge space. For example, the Body-Solid Power Rack fits nicely into compact areas. And perhaps this is a better option if you don’t want to build your own DIY squat rack.
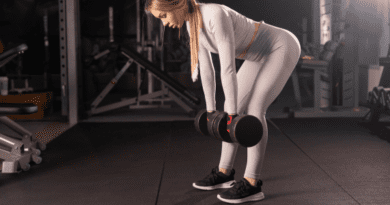
The size of your designated workout zone dictates what kind and size of equipment you can house there. In terms of apparatus, we must focus on essentials like a squat rack, barbell, weight plates, and adjustable dumbbells.
These fundamental pieces provide a full-body workout without breaking the bank or crowding your space excessively. If carefully chosen and arranged within your specified area, these key components will function as an effective budget-home gym setup.
Materials and tools required
Building a DIY squat rack requires some basic tools and materials. You can find the materials online (such as the tools) or head over to Lowes or Home Depot.
Here’s what you’ll need:
- Four pieces of 4×4 lumber (each eight feet long) for the main structure of your rack.
- For added stability, a pair of 2×4 lumber (each eight feet long).
- Four metal flanges to securely attach your wooden posts to the floor.
- Two steel safety bars capable of holding up to at least 300 lbs.
- A power drill with wood-friendly bits, which will be used to assemble the rack.
- A hand saw or circular saw for cutting the lumber to precise lengths.
- Eight bolts and matching nuts to secure the flanges and safety bars onto your wooden structure.
- Sandpaper and paint or varnish if you want a polished look.
Step-by-step instructions for building the squat rack
Let’s dive into the process of creating your DIY squat rack. Here is a clear, step-by-step guide to help you embark on this exciting project:
- Start by identifying the perfect spot for your squat rack, considering the available space in your home gym.
- Next, gather all necessary materials and tools for the project. You’ll need two wooden posts, flat pieces of wood for the base, screws, a drill, and L-brackets.
- Now begin by attaching the base pieces to each post using screws to form an “H” shape. This will serve as your primary structure.
- Attach additional pieces of wood horizontally across each post at varying heights to act as holders for your barbell.
- Finally, secure your finished squat rack to a wall using L-brackets for added stability.
Benefits of Having a DIY Squat Rack
Having a DIY squat rack offers the convenience of working out at home, significant cost savings compared to purchasing a commercial squat rack, and allows for customization options to fit personal preferences.
Convenience of working out at home
Working out at home offers unparalleled convenience. You can exercise whenever you want, without having to commute to a gym or adhere to their hours of operation. With a DIY squat rack in your home gym, you have the freedom to fit workouts into your schedule seamlessly.
Related Article: Are Air Squats Something to Add to Your Leg Day Training?
Whether it’s early morning or late at night, the convenience of working out at home allows you to prioritize your health and fitness on your terms. Plus, you’ll save time by not waiting for equipment or dealing with crowded spaces, allowing for more efficient workouts that maximize results.
Cost savings compared to purchasing a commercial squat rack
Building a DIY squat rack can result in significant cost savings compared to purchasing a commercial squat rack. With some basic materials and tools, you can create your own sturdy and functional squat rack at a fraction of the cost.
Plus, by building it yourself, you have the opportunity to customize the design to fit your specific needs and preferences. So not only will you save money, but you’ll also end up with a personalized piece of workout equipment that fits perfectly into your home gym setup.
Customization options to fit personal preferences
I love how DIY projects allow you to customize everything according to your personal preferences, and building a DIY squat rack is no exception. When creating your own squat rack, you have the freedom to choose the size, height, and even the color that best suits your home gym aesthetic.
Plus, you can add additional features like pull-up bars or storage hooks for weights and accessories. With plenty of options available, you can design a squat rack that perfectly aligns with your workout needs and style.
So go ahead and unleash your creativity while building your very own customized DIY squat rack!
Safety Tips and Considerations
Ensure your safety by properly securing the squat rack, maintaining proper form and technique, regularly inspecting for wear or damage, and using spotters when necessary. Learn more about these safety tips to protect yourself during your home workouts.
Properly securing the squat rack
To ensure your safety while using a DIY squat rack, it is crucial to secure it properly. Make sure that the rack is positioned on a flat and stable surface, such as a concrete floor or sturdy platform.
Use anchor bolts or screws to securely attach the rack to the ground, preventing any wobbling or tipping over during heavy lifts. Additionally, check that all bolts and connections are tightened regularly to maintain stability.
By taking these precautions, you can confidently perform your squats without worrying about accidents or injuries.
Maintaining proper form and technique
Maintaining proper form and technique is crucial when using a DIY squat rack. By ensuring that your body is positioned correctly, you can prevent injuries and maximize the effectiveness of your workout.
Keep your feet shoulder-width apart and your knees aligned with your toes as you lower into the squat position. Keeping your back straight and engaging your core throughout the movement is crucial.
Related Article: The Many Benefits of Utilizing the Asian Squat
Remember to breathe steadily and avoid rounding or arching your back. By focusing on maintaining proper form and technique, you’ll be able to safely build strength and see results in no time.
Regularly inspecting the rack for any signs of wear or damage
You should always make it a point to regularly inspect your DIY squat rack for any signs of wear or damage. This is crucial for maintaining its safety and longevity. By closely examining the rack, you can identify any issues, such as loose bolts, cracks in the wood, or bent metal, that may compromise its stability during workouts.

It’s essential to address these problems promptly to prevent accidents and injuries. Taking a few minutes to inspect the rack before each workout ensures that you can exercise with confidence and peace of mind.
Plus, fixing minor wear and tear early on can save you from expensive repairs down the line.
Using spotters or safety equipment when necessary
Safety should always be a top priority when using a DIY squat rack. Whether you’re lifting heavy weights or trying to push yourself to new limits, having spotters or safety equipment can prevent injuries and provide peace of mind.
Spotters can help support you during challenging lifts, ensuring that you can safely complete your workout. Safety equipment like safety bars or straps can also offer an extra layer of protection in case of fatigue or muscle failure.
Remember, it’s better to be safe than sorry when it comes to your fitness journey.
Conclusion
Building your own DIY squat rack is a cost-effective way to expand your home gym without breaking the bank. With just a few materials and tools, you can create a sturdy and reliable squat rack that allows you to perform this essential exercise safely in the comfort of your own home.
Related Article: Pivot Fitness — A Bed That Turns into a Power Rack?
Say goodbye to expensive gym memberships and hello to convenient workouts on your terms. Start building your DIY squat rack today and take your home gym to the next level!
FAQs
Yes, you can build a DIY squat rack for your home gym using affordable materials and basic tools.
To build a DIY squat rack, you will need sturdy pipes or wooden beams, fittings or brackets, screws or bolts, and a level.
The cost of building a DIY squat rack will depend on the materials you choose, but it can be significantly cheaper compared to buying a pre-made one from the market.
Safety is important when building and using a DIY squat rack. Make sure it is stable and secure before using it for workouts. It’s also advisable to have proper flooring underneath and use spotter arms or safety bars for added protection during exercises like squats.


*Disclosure: This article may contain affiliate links or ads, which means we earn a small commission at no extra cost to you if you make a purchase through these links. These commissions help support the operation and maintenance of our website, allowing us to continue producing free valuable content. Your support is genuinely appreciated, whether you choose to use our links or not. Thank you for being a part of our community and enjoying our content.
PLEASE CONSIDER SHARING THIS ON YOUR SOCIAL MEDIA TO HELP OTHERS LEARN MORE ABOUT THIS TOPIC.